Company settings and configuration6–8 min15 Steps

Company Settings
and Configuration

Freightools settings are organized from the left-side settings menu. Each area controls a different part of the company environment — from user profile details to integrations, email channels, API keys, and company-level configuration.

For more product tutorials and workflow guidance, visit the Freightools Help Center.

Company Settings and Configuration

Step 01

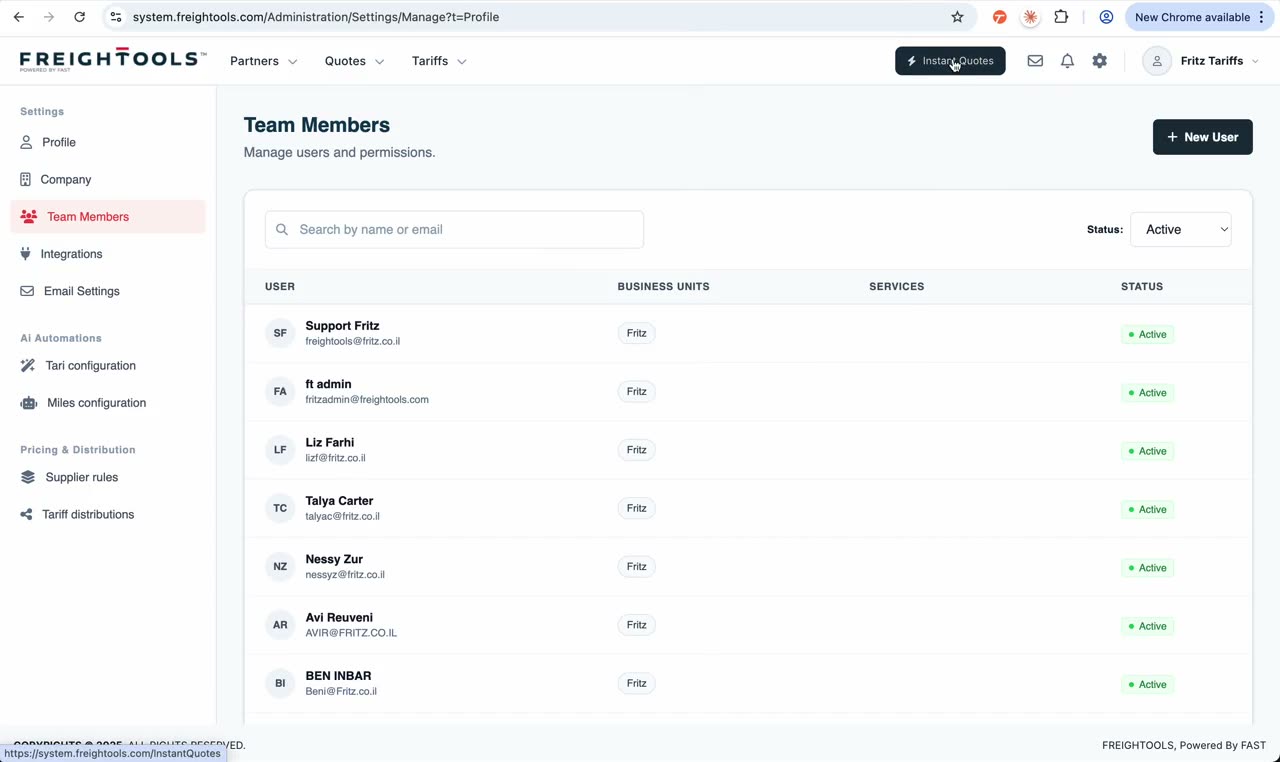
Open the settings area from the avatar menu

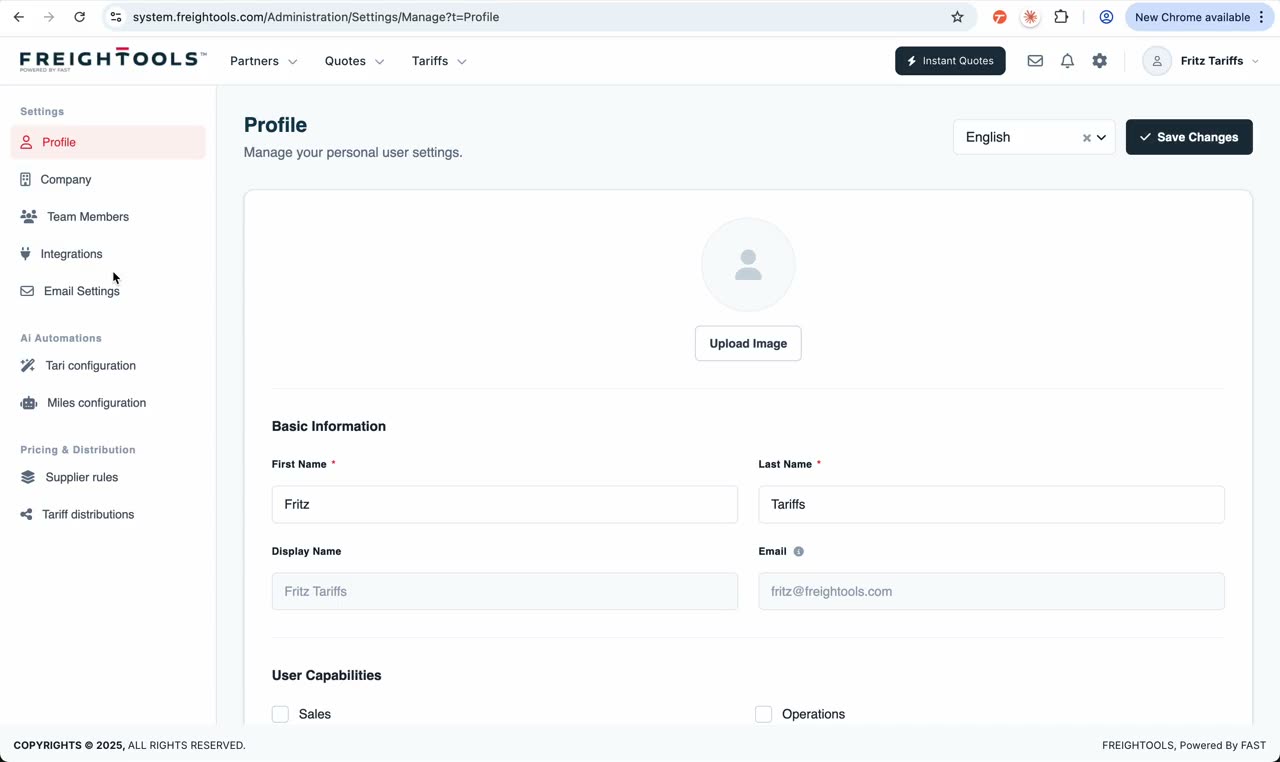
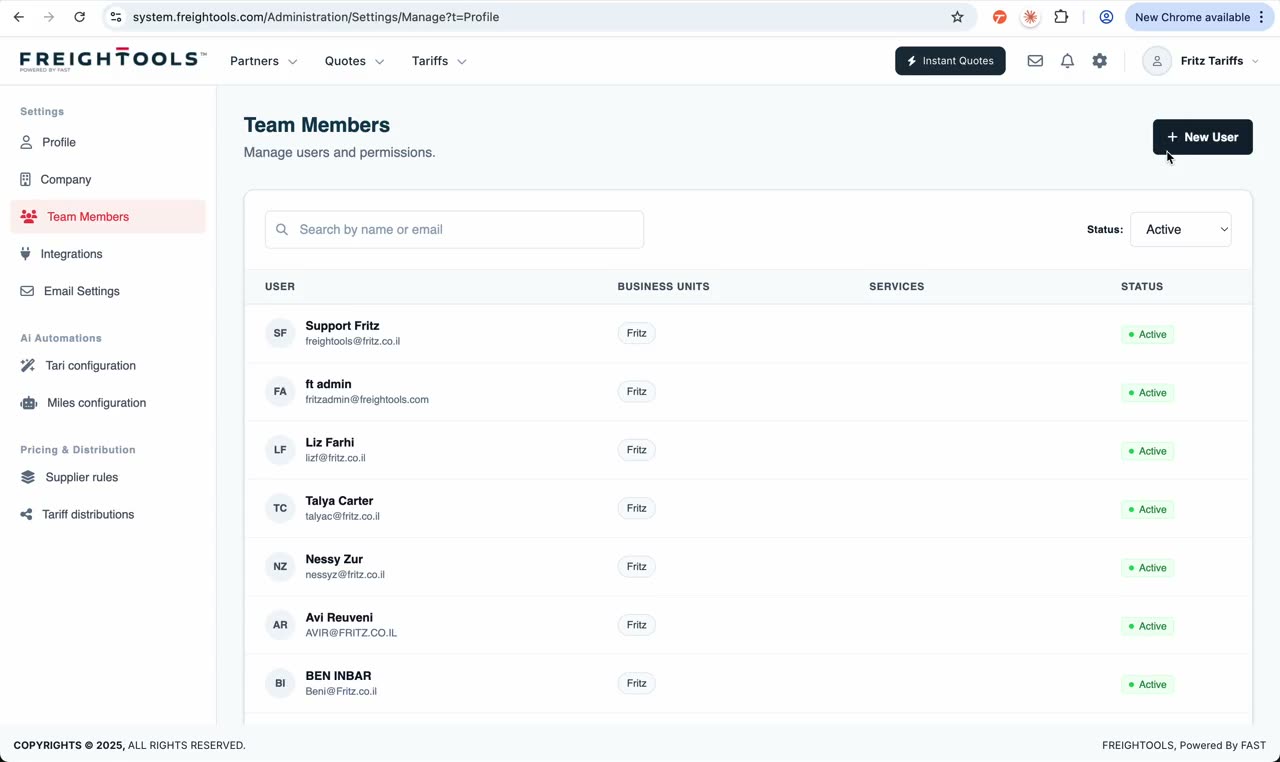
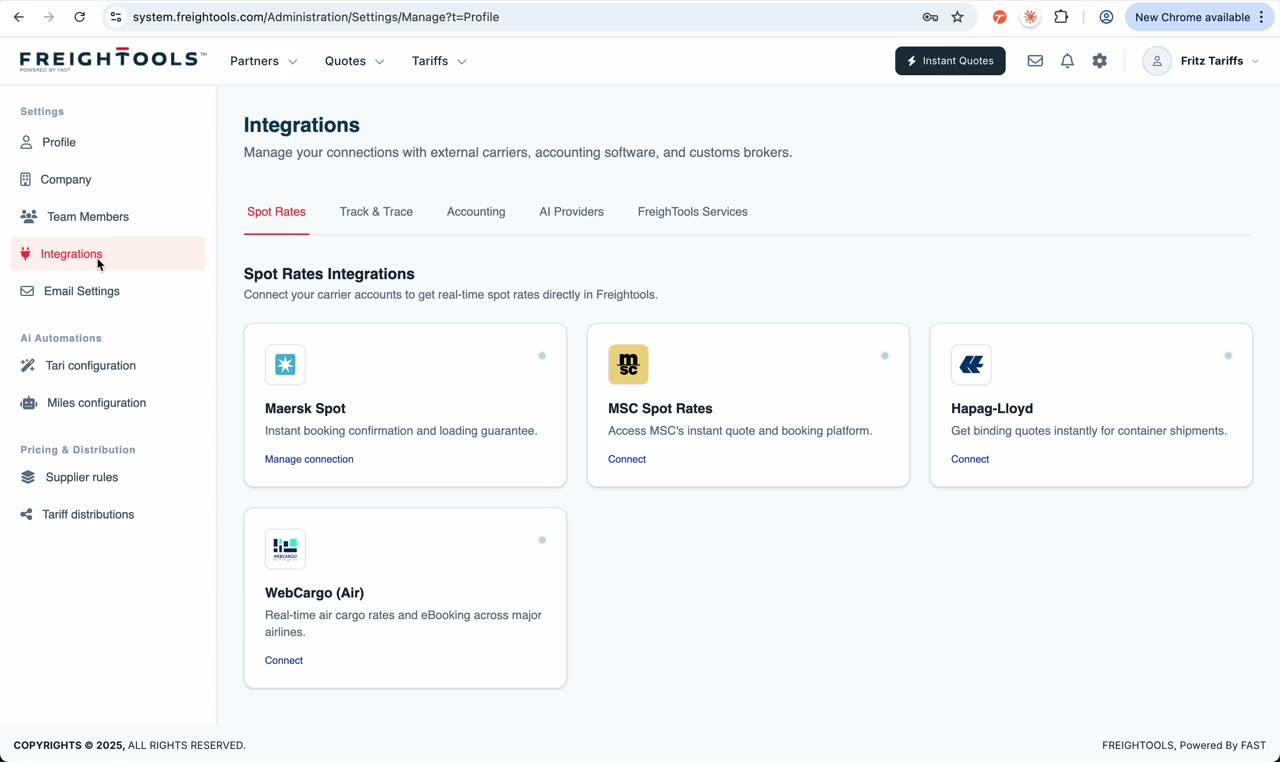
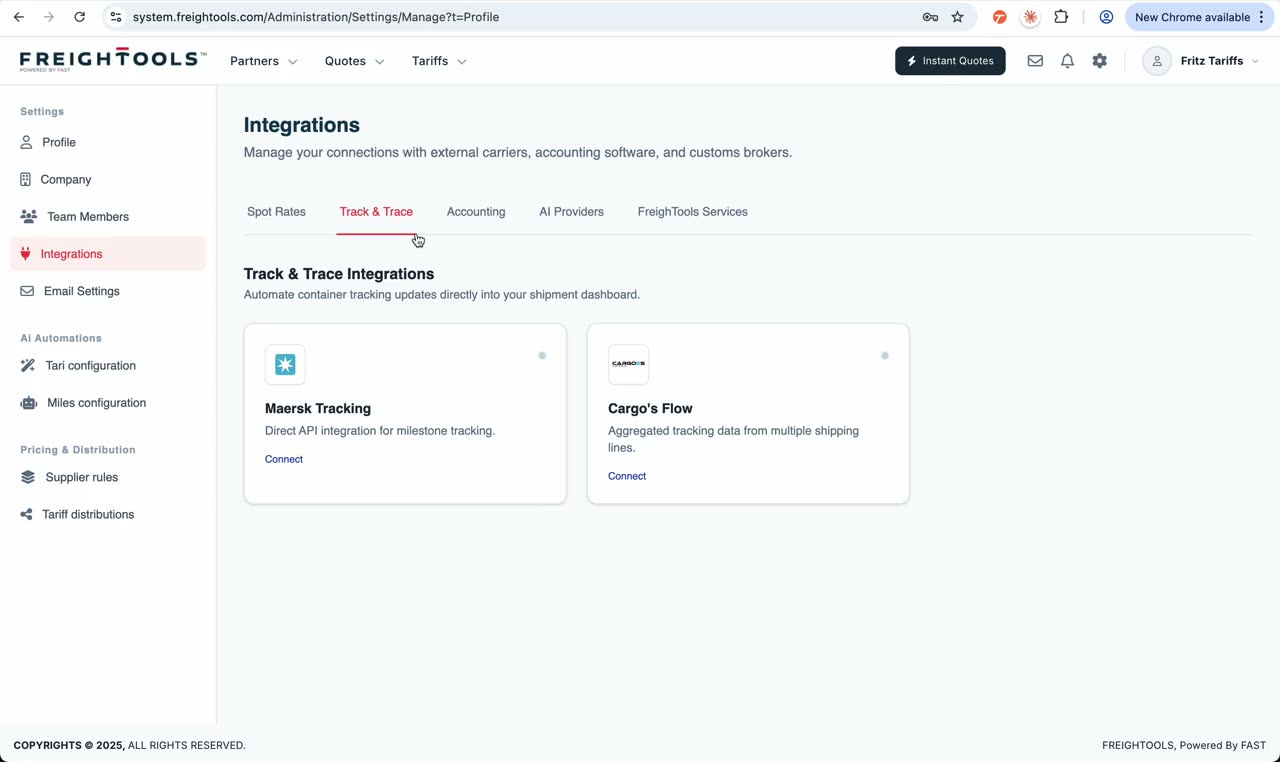
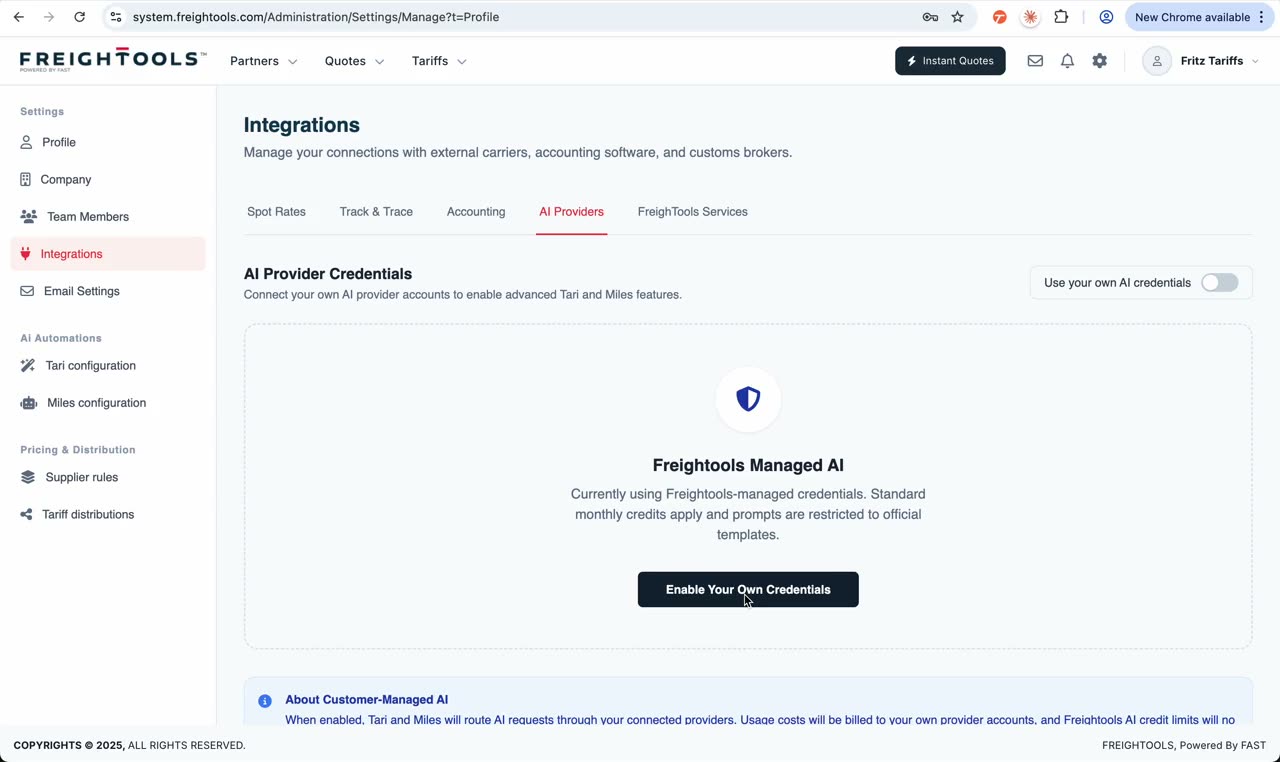
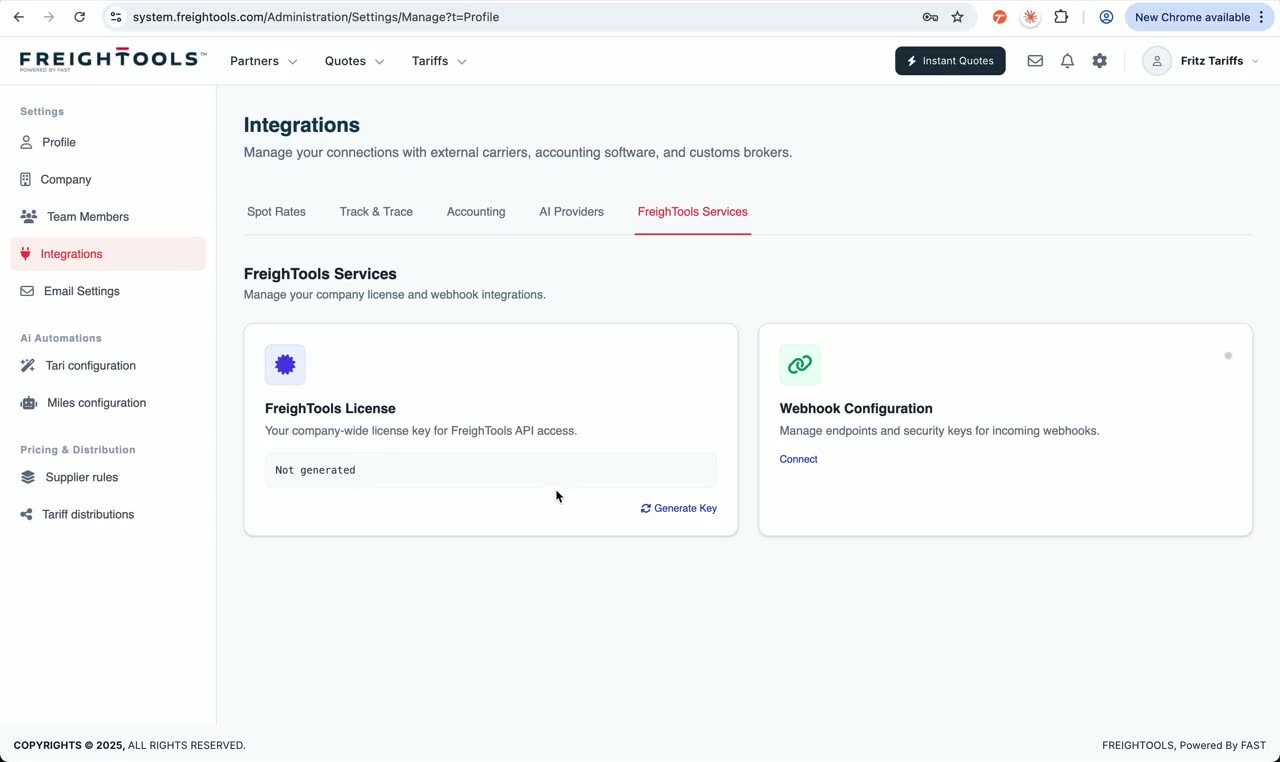
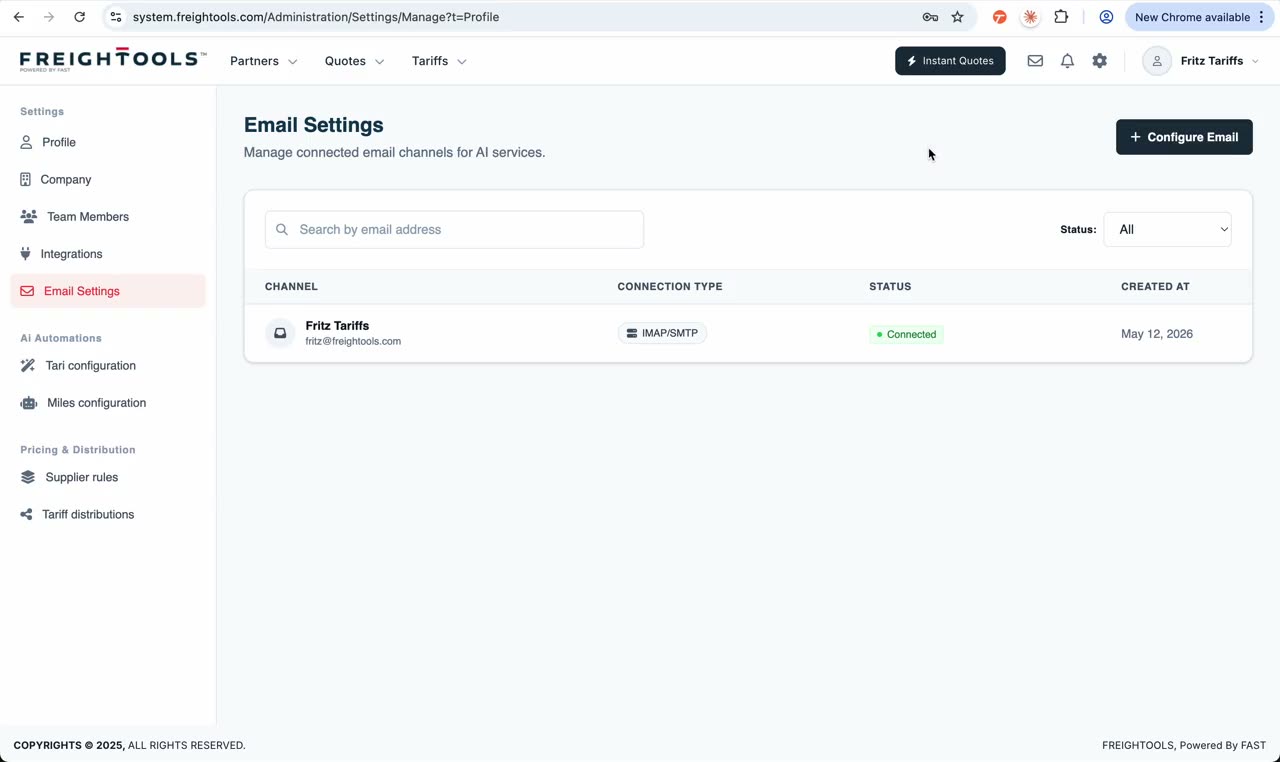
From the top-right avatar menu, click Profile to open the Freightools settings area. The settings page includes a left-side navigation menu with Profile, Company, Team Members, Integrations, Email Settings, and other configuration sections.

User action
Click the avatar menu, then click Profile.
Result
The user lands in the settings workspace.
Tip
All major company configuration lives behind the avatar menu — no need to hunt through the dashboard.
Silent clip · Opening the settings area from the avatar menu
Silent clip · Editing the user profile and requesting a password reset
Step 02

Update the user profile

The Profile page lets each user manage their own profile details. Users can add or change their profile image, update first name and last name, and request a password reset link.

User action
Open Profile and update the relevant user details.
Result
The user’s personal Freightools profile is updated.
Step 03

Review company branding and legal information

The Company page includes company branding, logo, print colors, and legal information. Some legal fields may require a formal edit request instead of direct editing.

User action
Open Company and review the branding and legal information sections.
Result
The company identity and legal details are visible in one place.
Tip
Keep branding consistent — the company logo and print colors flow into every customer-facing PDF.
Silent clip · Reviewing company branding and legal information
Silent clip · Configuring core company defaults: currency, country, units, validity
Step 04

Configure core company defaults

The Company page also includes core configuration values such as company currency, country, default unit of measurement, default sales proposal validity period, telephone number, contact details, and company address. The default sales proposal validity period controls the default validity applied to new quotes and sales proposals.

User action
Review and update the company defaults where allowed.
Result
New quotes and company workflows use the configured defaults.
Tip
Setting the right default currency and validity once saves hundreds of clicks later.
Step 05

Configure available services

The company can define which freight services it supports — such as FCL, LCL, air, road, and other service types available in the system. Enabling the right services keeps Instant Quote and operational flows aligned with the company’s offering.

User action
Review the service configuration and enable the services the company provides.
Result
Freightools aligns quote and operational flows with the company’s active services.
Silent clip · Configuring available services and printout settings
Step 06

Configure printout settings

The printout configuration controls the customer-facing documents generated from Freightools. This may include printout header, footer, print colors, and a printout logo if it should differ from the main company logo.

User action
Review the printout configuration fields.
Result
Customer-facing PDFs use the correct company branding.
Tip
If your printout logo differs from your screen logo, set the dedicated printout logo here.
Step 07

Manage team members and roles

The Team Members page shows the company user list. Admins can open a user, edit roles and capabilities, manage permissions, and send invitations.

User action
Open Team Members, select an existing user, or create a new user.
Result
The admin can control who has access and what each user is allowed to do.
Silent clip · Managing team members, roles, and permissions
Silent clip · Creating a new user and sending the invitation
Step 08

Invite a new user

Admins can create a new user and invite them to use Freightools. The invitation process gives the new user access according to the configured role and permissions.

User action
Click the new-user / invite action and complete the user details.
Result
The new user receives access to Freightools based on the selected permissions.
Tip
Set roles thoughtfully — sales, operations, manager, and accounting each unlock different parts of the platform.
Step 09

Connect spot-rate carrier integrations

The Integrations page allows the company to connect external carrier credentials so Instant Quote can show more results. Examples shown include Maersk Spot, MSC, Hapag-Lloyd, and WebCargo. Some providers use username and password authentication. Others use API credentials such as client ID and client secret. Additional carrier integrations may be added over time.

User action
Open Integrations, choose the provider, enter the required credentials, and authenticate.
Result
Instant Quote can include additional live spot-rate results from connected providers.
Tip
Connect the carriers your customers actually book — every extra source improves Instant Quote coverage.
Silent clip · Connecting spot-rate carrier integrations
Silent clip · Connecting Track and Trace and accounting integrations
Step 10

Connect Track and Trace providers

Companies can connect tracking provider credentials to track shipments using their own account or API connection. Examples include Maersk tracking and Cargo’s Flow when visible in the UI.

User action
Open the Track and Trace integration section and enter the required credentials.
Result
Shipment tracking can use the company’s connected provider credentials.
Step 11

Connect accounting integrations

The Accounting section allows connection to supported accounting systems using the relevant API credentials or integration flow.

User action
Open Accounting integrations and configure the required provider credentials.
Result
Freightools can connect operational or financial workflows to the company’s accounting system where supported.
Silent clip · Configuring AI provider credentials for Tari and Miles
Step 12

Configure AI provider credentials for Tari and Miles

Companies can choose to run Tari and Miles using their own AI provider credentials. When enabled, the customer pays for their own token consumption directly through their selected AI provider. Supported provider options shown in the tutorial include OpenAI / ChatGPT, Gemini, xAI, and Anthropic / Claude.

User action
Enable own AI credentials, choose the provider, enter the API key, and save.
Result
Tari and Miles can use the company’s own AI provider key for tariff loading and quoting workflows.
Tip
Bring your own key gives you full cost control — usage is billed through the provider account directly.
Step 13

Generate Freightools service API keys and webhooks

The Freightools Services area allows the company to generate its own Freightools API/license key and configure webhook credentials.

User action
Open Freightools Services, generate or review the API key, and configure webhook details where required.
Result
External systems can connect to Freightools using the configured service credentials.
Silent clip · Generating Freightools API keys and configuring webhooks
Silent clip · Configuring company email channels for AI workflows
Step 14

Configure company email channels

The Email Settings page allows admins to add company email channels — such as tariffs@company.com or quotes@company.com. These channels can later be used by AI services to read emails, create buying agreements from tariff emails, or assist quote replies. Supported connection methods include Microsoft, Google, and manual configuration with username and password.

User action
Open Email Settings, add an email channel, and choose the connection method.
Result
Freightools can use connected company mailboxes for tariff and quote workflows.
Tip
Connect a dedicated tariffs@ mailbox to let Tari ingest supplier rate emails automatically.
Step 15

What comes next

This guide covers the main settings and configuration areas. Dedicated guides for AI automation settings and pricing/distribution settings will be added separately.

User action
Return to the onboarding hub or continue to another available guide.
Result
The user understands where to find each major settings area.

Before sending the quote

Final review

  • User profile details reviewed

  • Company logo uploaded

  • Company print colors checked

  • Legal information reviewed

  • Company currency and country verified

  • Default units configured

  • Default quote validity period configured

  • Contact details and address completed

  • Active services selected

  • Printout logo, header, and footer reviewed

  • Team members invited

  • Roles and permissions checked

  • Spot-rate integrations connected where relevant

  • Track and Trace credentials connected where relevant

  • Accounting integration connected where relevant

  • AI provider credentials configured if using own AI keys

  • Freightools API key and webhooks configured if required

  • Email channels connected and tested

Common questions

Quick answers to the most common quoting questions.

  • Who can edit company settings?

    Company admins can manage company-level settings, team members, integrations, and email channels. Regular users may only have access to their own profile or limited settings depending on their permissions.

  • Can each user edit their own profile?

    Yes. Each user can update their own profile details and request a password reset link.

  • Why are some legal fields not directly editable?

    Legal information may require a formal edit request to keep company records controlled and verified.

  • What does the default sales proposal validity period do?

    It controls the default validity period applied to new quotes / sales proposals created in Freightools.

  • Why should I connect carrier integrations?

    Connected carrier credentials can allow Instant Quote to show additional live spot-rate results from supported providers.

  • Can Freightools use our own AI provider account?

    Yes. If enabled, Tari and Miles can use the company’s own AI provider credentials, so token consumption is billed through the selected provider account.

  • What are email channels used for?

    Email channels can be used for workflows such as receiving tariff emails, creating buying agreements, and supporting quote reply workflows.

  • Can we configure API keys and webhooks?

    Yes. Freightools Services allows companies to generate API keys and configure webhook credentials where required.

Ready to create your first quote?

Use this guide as your first workflow. Once your team is comfortable with Instant Quote, you can continue with settings, spot rates, AI tariff loading, and quote templates.